Engineers Bolt #1396 is one of a number of objects created for 3D detailing.
Description
![Bolt#1396_01]()
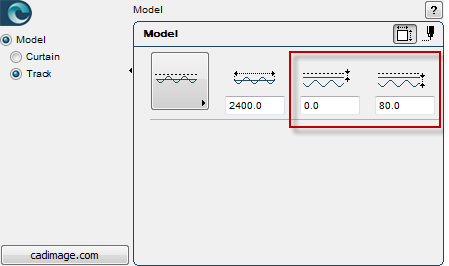
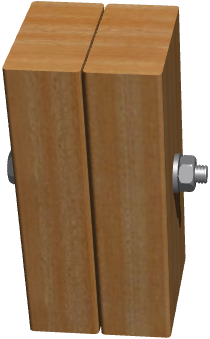
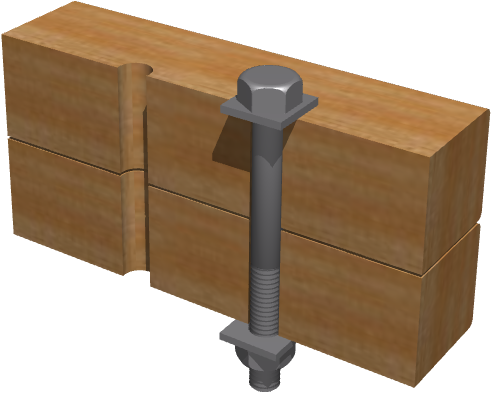
The bolt includes optional washers and nut. Set the dimensions of the head, shaft, and even the thread length and pitch. Care is taken to produce a realistic appearance.
Dynamic hotspots are provided to rotate the bolt, and to adjust its length, threaded length, and the position of the nut.
When used as a Solid Element operator, the bolt will cut a simple round hole for the shaft.
Specifications
| Genre |
3D Detailing |
| Polygon Count |
High |
| Texture Mapping |
N/A |
| Flexibility |
Moderate |
| Likes:Dislikes* |
5:1 |
| Monthly Downloads* |
100 |
| Availability |
Worldwide |
| How to Get |
Search BIMComponents from within ArchiCAD |
*BIMComponents rating as of March 2014
Most Valuable Setting
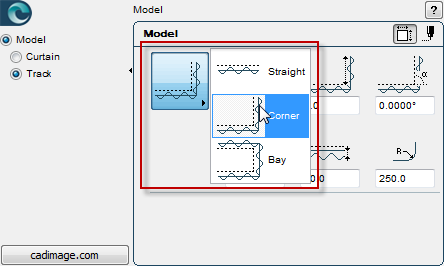
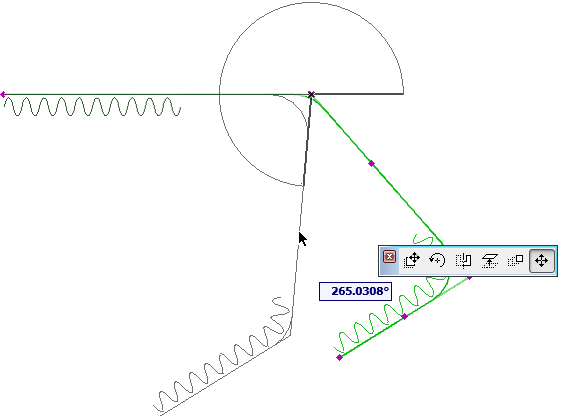
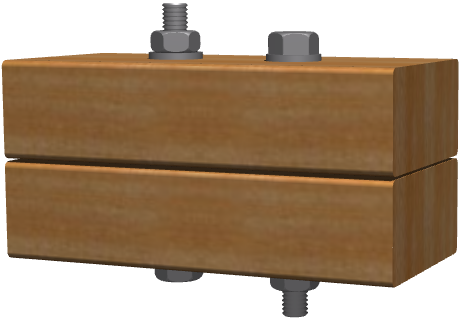
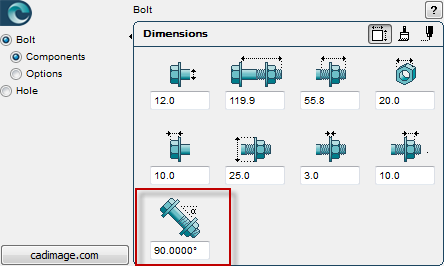
The most valuable setting is the tilt angle. This allows you to use the bolt in any orientation, without having to convert it to a Morph.
![Bolt#1396_02]()
The orientation may be set via the Settings dialog, or using a dynamic hotspot.
![Bolt#1396_03]()
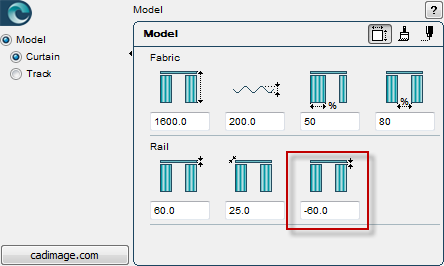
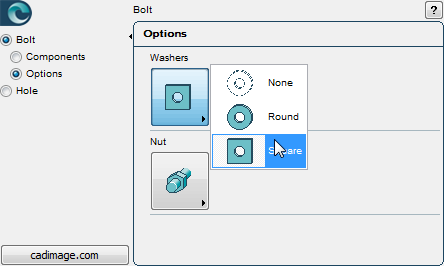
Hidden Features
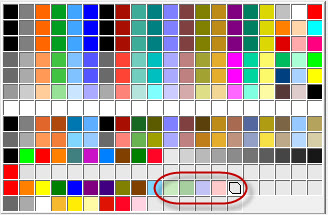
Choose a round or square washer shape, and include 0, 1, or 2 nuts.
![Bolt#1396_04]()
Tips and Tricks
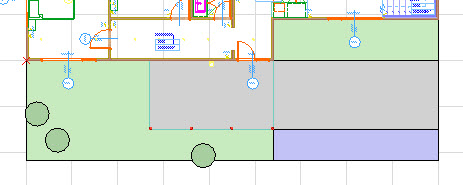
Use Solid Element Operations to drill a hole for the bolt, using the bolt as the Operator and applying a Subtraction.
![Bolt#1396_05]()